
Last updated August 27, 2026
Free in-home measure and quote - PGT, CGI and CWS impact lines compared on your actual openings, style by style


Sliding glass doors

Impact garage doorsPGTCGI
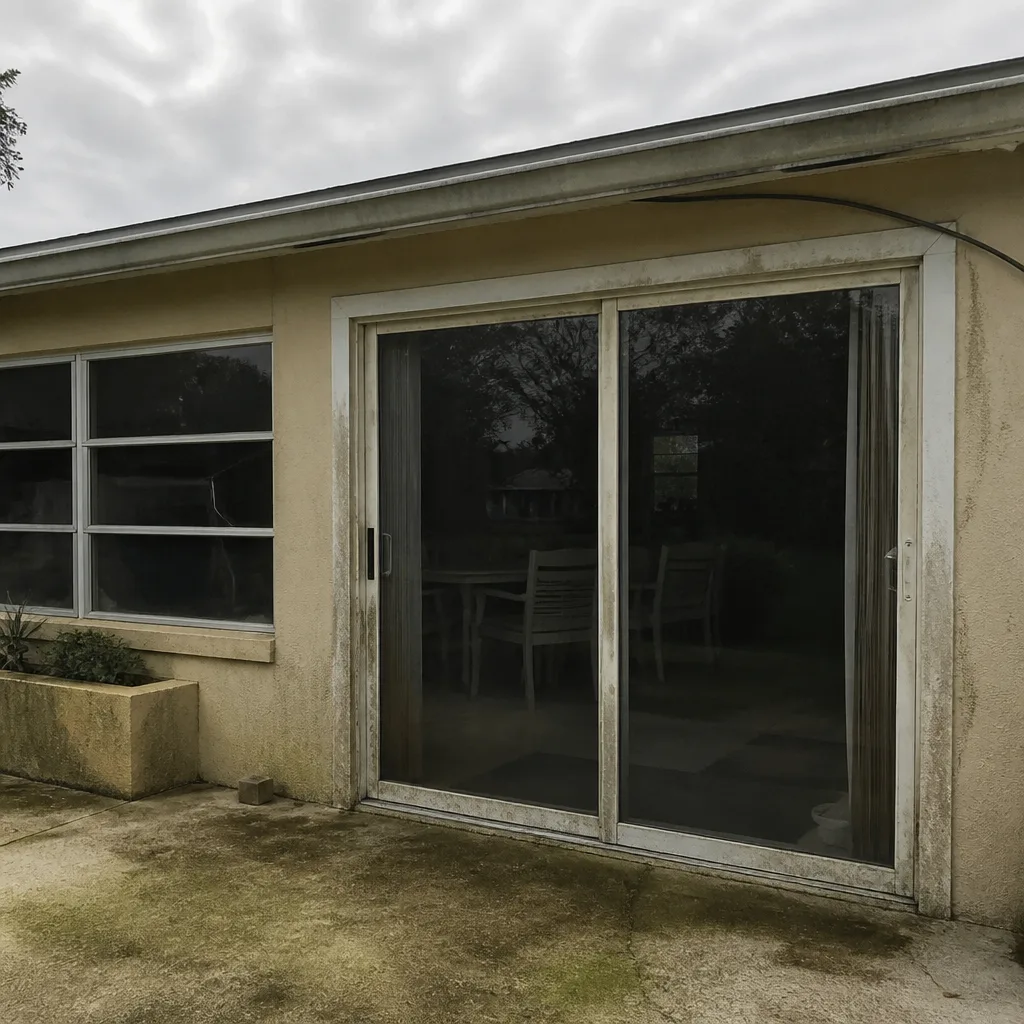 Before
 After
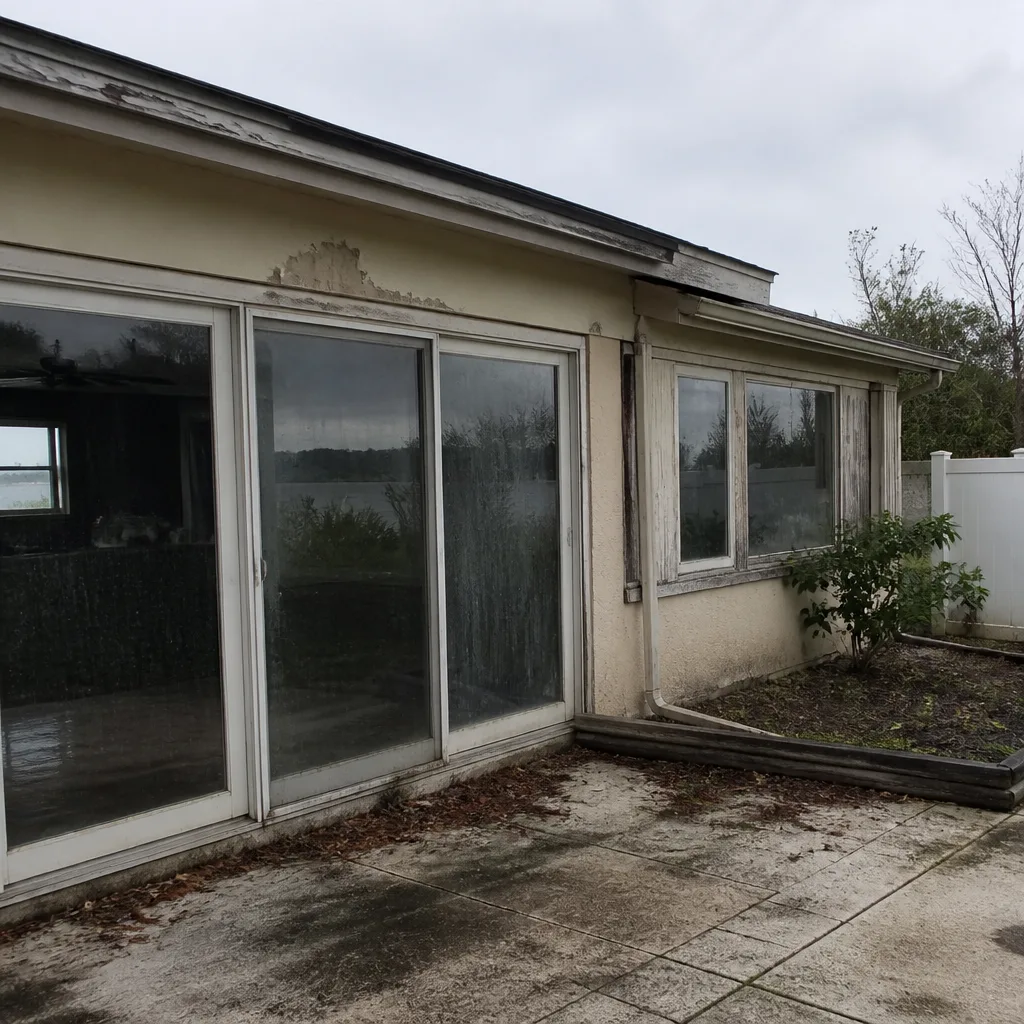 Before
 After
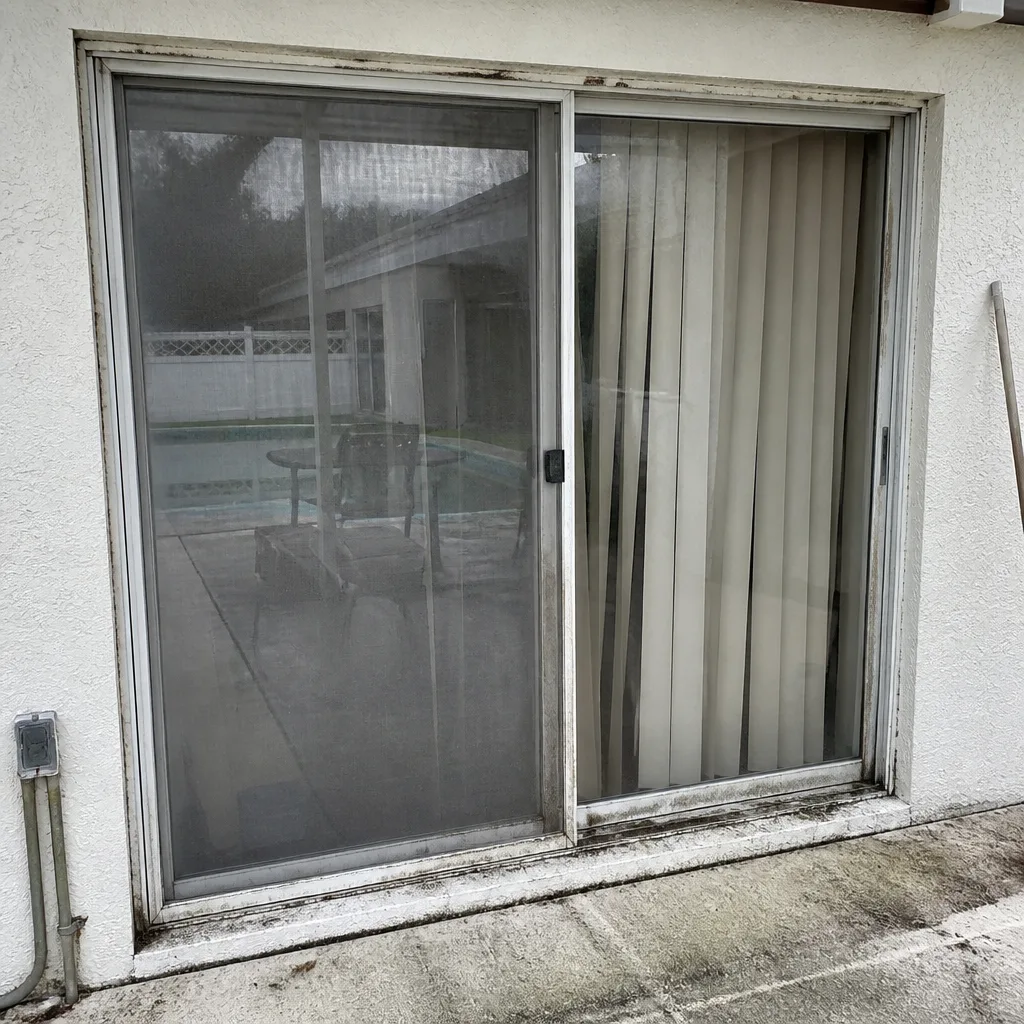 Before
 After
Window Installation Maintenance Checklist for Stuart Homeowners
Most window failures in Stuart don’t start with a hurricane. They start quietly: a bead of caulk that separated from the stucco, a weep hole packed with salt crust, a roller bearing grinding through its nylon sleeve every time the slider opens. By the time a homeowner notices the draft or the fogged glass, the damage has usually been working for two or three years. This guide gives you a plain-language maintenance checklist built specifically for the salt air, afternoon thunderstorms, and wood-frame construction we deal with in Stuart, so you can catch small problems before they become big checks.
Quick Answer
A proper window installation maintenance routine in Stuart means inspecting caulk beads, weatherstripping, weep holes, tracks, and hardware twice a year, cleaning glass and frames with non-abrasive products, lubricating moving parts annually, and addressing any seal failure, binding, or water staining within 30 days of noticing it. Coastal salt air and summer humidity accelerate every failure mode, so the twice-yearly rhythm matters more here than it does inland.
Table of Contents
- Why Stuart’s Climate Punishes Windows Differently
- The Twice-Yearly Inspection Routine
- Caulk and Exterior Seal Maintenance
- Weep Holes and Drainage: The Overlooked Line of Defense
- Track, Roller, and Hardware Care
- Glass and Seal Care: What You Can and Cannot Fix
- Hurricane Season Preparation for Windows and Doors
- Energy Efficiency Checks That Catch Problems Early
Why Stuart’s Climate Punishes Windows Differently
Stuart sits in a salt-spray corridor. The Atlantic breeze that makes January pleasant also carries airborne chloride that settles into aluminum tracks, galvanized hardware, and unsealed frame joints. Combined with 55 to 60 inches of annual rainfall and summer humidity that holds above 80 percent for weeks at a time, the environment accelerates corrosion, seal fatigue, and organic growth in ways a homeowner in Orlando or Gainesville never sees.
We regularly inspect windows in Sewall’s Point and Rocky Point that are only six or seven years old but show pitting on exposed aluminum surfaces. That’s not a manufacturing defect. It’s brackish air working on metal that was never built for it. Wood-frame homes in neighborhoods like North River Shores and Poppleton Creek face an added challenge: the framing swells and contracts with seasonal moisture cycles, which can shift a window’s position by a sixteenth of an inch. That’s enough to break a caulk seal or make a sash bind in its track.
What this means for maintenance is simple. The checklist below is not a suggestion. It’s the minimum a window in Stuart needs to perform for its full service life. The good news is that the work is neither hard nor expensive. Most of it takes an afternoon, a few dollars in materials, and a willingness to look at things before they fail.
The Twice-Yearly Inspection Routine
Set a calendar reminder for late October and late April. October puts you ahead of the dry season and the holiday months when schedules fill. April puts you ahead of hurricane season, which officially starts June 1. Both inspections take about two hours for a typical three-bedroom home if you work window by window with a checklist.
Here is the routine we recommend, written in the order you should walk the house:
- Walk the exterior perimeter. Look at every window from the outside. Check the caulk line where the frame meets the stucco, wood siding, or brick. Look for gaps, cracks, peeling, or areas where the caulk has pulled away from either surface.
- Clear the weep holes. Locate the small drainage slots or holes along the bottom exterior edge of each frame. Use a toothpick or a soft brush to clear out any debris, salt crust, or insect nests. Do not use anything metal that might scratch the finish.
- Test every operable sash. Open and close each window fully. Listen for grinding, feel for resistance, and note any sash that drops, sticks, or does not lock cleanly.
- Inspect weatherstripping. Run your finger along the fuzzy strips and rubber gaskets around each sash. Look for flattening, tearing, gaps at corners, or sections that have peeled away from the frame.
- Check the glass seals. Look at each insulated glass unit from an angle in direct light. Any fogging, condensation between the panes, or a milky haze along the glass edges means the seal has failed.
- Examine interior drywall and trim. Look for water staining, bubbling paint, soft spots, or mildew at the window perimeter. These are signs water is getting past the exterior seal and traveling inward.
- Operate the locks. Lock and unlock every window. A lock that does not engage cleanly means the sash has shifted, which is also a security and energy issue.
Keep a small notebook or a phone note for each window: location, condition, anything you need to revisit. A homeowner who tracks what they see in October is far less likely to be surprised in June.
Caulk and Exterior Seal Maintenance
Caulk is the cheapest material on any window installation and the first line of defense against water intrusion. In Stuart, a standard exterior silicone or polyurethane caulk exposed to direct afternoon sun and salt air will typically show wear within three to five years. High-quality hybrid caulks designed for coastal exposure can run seven to ten, but only if the original application was done right: clean surfaces, proper depth, tooled edges, and no thin spots.
The most common failure point we see is not the caulk itself. It’s the joint between the window frame and the exterior finish. Builders sometimes install windows with a backer rod and sealant properly, but the stucco or siding applied later does not fully cover the joint. Over time, water finds the seam and works inward.
Here is how to check and maintain exterior seals:
- Look for separation before you look for cracking. Run a fingertip along the joint. If you can feel a groove or see daylight at any point, the seal has let go even if the caulk looks intact.
- Never caulk over old caulk. If you are touching up, cut out the failed section, clean it with a rag and mineral spirits, let it dry, and apply fresh sealant. Caulk does not bond to cured caulk.
- Use a caulk rated for coastal UV and movement. A $6 tube of painter’s caulk from a big box store is not the same product a glazier uses. Look for a hybrid or polyurethane sealant that states UV resistance and movement capability of at least 25 percent on the label.
- Pay attention to the top corners. On a lot of Stuart homes, the two upper corners of a window frame are where sealant fails first. The sun hits them year-round, and water run-off concentrates there during storms.
- Do not caulk the bottom edge of the frame on a new installation. The bottom edge is often designed to drain. Sealing it traps water inside the frame. If you’re unsure whether a gap at the bottom is intentional drainage or a failed seal, have it looked at.
If you see water staining inside the home, dark streaks on the drywall, or a persistent musty smell around a window, the issue has already moved past the caulk stage. That’s the point to call someone who can isolate the entry point rather than just adding more sealant and hoping.
Weep Holes and Drainage: The Overlooked Line of Defense
Every properly-installed window or sliding door in Stuart has a drainage system built into the frame. Weep holes at the bottom exterior edge allow water that gets past the outer seal to drain out instead of pooling inside the frame. When those holes clog with salt, sand, pine needles, or insect activity, the water has nowhere to go except into the wall cavity or the interior of the window track.
We see this constantly in Stuart: a homeowner calls about a window that leaks during heavy rain, and the fix is simply clearing packed debris out of the weep holes. It’s a five-minute job that prevents thousands of dollars in drywall, trim, and insulation repair.
The maintenance steps:
- Locate the weep holes. On vinyl and aluminum windows, they’re small rectangular or oval slots along the bottom exterior of the frame, usually one or two per window section. On sliding doors, the track has its own weep system, often hidden behind a removable exterior track cover.
- Clear them with a soft tool. A wooden toothpick, a pipe cleaner, or a soft nylon brush works. Avoid metal picks that can gouge the frame.
- Test with water. After clearing, pour a small cup of water into the exterior track or the bottom channel of the frame. It should drain out the weep holes within a minute. If it pools, the internal drainage channel is still blocked.
- Check after storms. A heavy summer storm pushes leaves, sand, and debris into window tracks. Make it a habit to check weep holes within a day or two after any named storm or sustained wind event.
This is the kind of thing that never shows up in a generic maintenance guide. But in a coastal town like Stuart, it’s the difference between a window that lasts thirty years and a wall cavity that starts rotting in five.
Track, Roller, and Hardware Care
Sliding windows and glass doors bear the worst of the wear in Stuart homes. The tracks collect sand, salt, and grit every time the trade winds blow. The rollers underneath a heavy glass panel grind through that debris every time the door opens. A slider that moves smoothly today can bind and jump the track in six months if the rollers are not maintained.
We work on homes throughout Stuart, from older concrete-block ranch houses off Kanner Highway to newer two-story builds in Willoughby and Twin Oaks. The sliding door issue is the same everywhere: homeowners ignore the track until the door is too hard to move, at which point the roller housings are usually shot.
Here is the care routine:
- Vacuum the tracks monthly. Use a shop vac with a crevice attachment. Get down to bare metal or vinyl. Do not use a wet rag as your first pass; it turns the sand into mud and pushes it deeper into the corners.
- Wipe the tracks with a damp cloth. After vacuuming, wipe out the remaining film. A mild dish soap and water solution works. Rinse with clean water and dry thoroughly.
- Lubricate the tracks lightly. Use a dedicated dry silicone spray, not WD-40 and not grease. WD-40 leaves a film that attracts grit. Grease hardens in the salt air. A light coat of silicone reduces friction without building up.
- Check the rollers annually. Lift the sliding panel slightly and look at the rollers. If you see flat spots, cracks, or the wheel does not turn freely, the roller is done. Replacement rollers are an inexpensive fix we handle regularly, but running a door on a dead roller scores the track, and that is a much more involved repair.
- Clean and lubricate locks and latches. Salt air corrodes internal lock mechanisms faster than anything else on the window. A dry graphite lubricant works well for lock cylinders. Do not use oil-based products, which gum up in the heat.
If a window or door has reached the point where it must be lifted or shouldered to move, stop forcing it. Forcing the hardware bends it. A bent track or a warped sash needs professional attention, and the repair cost is far lower before the frame gets damaged.
Glass and Seal Care: What You Can and Cannot Fix
Insulated glass units, the double-pane assemblies used in most modern Stuart homes, are sealed at the factory with a desiccant-filled spacer between the panes. Once that seal fails, the desiccant saturates, moisture gets pulled into the airspace, and the window fogs or develops a permanent haze. The failure cannot be repaired. The glass unit has to be replaced.
The seal failure rate in coastal climates is higher than inland for a reason: thermal cycling. A west-facing window in Stuart bakes in the afternoon sun, then cools rapidly when the sea breeze pushes a storm through. That expansion and contraction cycle stresses the seal hundreds of times a year. Over a decade, that’s thousands of stress cycles. Eventually, the seal fatigues.
What you can do as a homeowner:
- Inspect the glass from the outside at an angle. Look for a milky or smoky appearance along the edges or in the corners of the glass. That’s the first visible sign of a failing seal, before the classic fog appears.
- Clean with a mild solution. Use warm water with a small amount of dish soap or a dedicated glass cleaner that does not contain ammonia. Ammonia-based cleaners can damage low-E coatings and the sealant at the glass perimeter.
- Avoid pressure washing directly at the window frame. The high-pressure stream forces water past the exterior gaskets and into the frame. If you pressure wash the house, keep the wand moving and avoid lingering at frame joints.
- Remove salt buildup regularly. After a season of ocean breeze, a fine salt film builds on exterior glass. Plain water and a soft cloth remove it. Do not use abrasive scrubbers, which permanently micro-scratch the surface and degrade solar coatings.
If you see condensation between the panes, that’s a failed seal, full stop. No DIY fix exists. The right move is a glass replacement, and in many cases the sash can be re-glazed without replacing the entire window. A qualified glazier can give you that answer quickly. We’ve replaced hundreds of failed insulated glass units in Stuart homes, and the first thing we tell a homeowner is that they’re not alone: the salt and sun here are hard on seals, and the manufacturers who warranty their glass understand that.
Hurricane Season Preparation for Windows and Doors
Every Stuart homeowner knows the drill: June 1 arrives, and the checklists come out. But windows need preparation work that goes beyond putting up shutters. If the opening is not sealed and draining properly before the storm, shutters only protect against wind-borne debris. Water intrusion comes through the gaps.
Before the season starts, run through this list:
- Do the full twice-yearly inspection in late April or early May. Caulk, weep holes, weatherstripping, hardware, seals. Fix what’s marginal now, because no contractor in Martin County is available for minor window repairs 72 hours before a storm makes landfall.
- Check impact glass or shutter hardware. If you have impact windows from manufacturers like PGT or CGI, inspect the glazing beads and gaskets around each unit. If you have accordion or roll-down shutters, operate every one and lubricate the tracks before the season starts.
- Verify drainage paths. The most common storm-water failure we see in Stuart is a window frame that drains fine in normal rain but overflows in a hurricane’s driven rain because the weep holes are partially blocked. A five-minute clearing job in May prevents a water-damaged wall in September.
- Review insurance and documentation. Keep your window and door warranty paperwork accessible. If you installed impact products, your insurance company may offer credits for the documentation. If the work was done by a contractor who registered the warranty layers with the manufacturer, you have what you need.
If you have an older home with original single-pane windows and no shutters, you already know the exposure. Replacing those windows with impact-rated units is a big project, but in Stuart it’s one of the highest-value investments a homeowner can make, both for safety and for long-term insurance costs.
Energy Efficiency Checks That Catch Problems Early
Windows are a Stuart home’s biggest energy liability. South-facing glass without adequate shading or low-E coating turns an air-conditioned living room into a solar oven. Failed seals allow humidity to enter the home, which forces the AC to work harder to remove moisture even when the temperature setting doesn’t change. A drafty window in winter, mild as our winters are, still wastes conditioned air.
These checks are simple and take minutes:
- Feel the glass on a hot afternoon. Stand near the window and place your hand an inch from the glass. If you feel radiant heat pouring through, the window is doing little to block solar gain. Low-E coatings and proper glazing make a measurable difference in a Stuart summer.
- Check for drafts with a candle or incense stick. On a breezy day, move the flame or smoke stream slowly around the window perimeter. Any flicker or deflection means air is moving through the seal or weatherstripping.
- Inspect the weatherstripping at the meeting rail. Double-hung windows have a seam where the two sashes meet. This is the most common air-leak point. The sealing strip should make continuous contact.
- Look at your energy bills by season. A sudden upward jump that doesn’t match the weather pattern often points to window or door seal failures. It’s a lagging indicator, but a useful one.
The window replacement market in Stuart has shifted heavily toward energy-efficient models from manufacturers like Ply Gem and Milgard, and for good reason. A properly-installed low-E window with argon fill cuts solar heat gain dramatically. The key phrase is properly installed. An energy-efficient window set out of plane or sealed poorly performs no better than single-pane glass.
Common Mistakes to Avoid
- Skipping weep hole maintenance. Nine times out of ten, when a Stuart homeowner calls about a leaking window that is not damaged, the weep holes are packed solid. Clearing them is free and takes a minute per window. Not clearing them can mean replacing interior trim, insulation, and drywall.
- Using the wrong lubricant on tracks and hardware. WD-40 and white lithium grease do more harm than good in the Stuart climate. They attract sand and salt, form a paste, and accelerate wear on rollers and locks. Use dry silicone or graphite only.
- Caulking over failed caulk. New sealant needs clean surfaces to bond. Smearing fresh caulk over old, cracked material leaves the same leak path underneath and gives a false sense of security.
- Waiting on fogged glass. A failed insulated glass unit never gets better. It loses energy efficiency from day one and looks worse as the desiccant saturates. Replacing the glass early keeps the rest of the window in service and prevents frame damage from trapped moisture.
- Caulking the bottom of the frame. On many window designs, especially sliders and fixed picture windows, the bottom edge is intentionally designed to drain. Sealing it traps water inside the frame and pushes it into the wall.
- Putting off hurricane-prep window work until a storm is in the forecast. Every glazier in Stuart is booked solid when a storm is three days out. The time to fix caulk, clear weep holes, and tune up shutters is April and May, not September.
- Assuming warranty coverage is automatic. Some window warranties require registered installation by an authorized dealer to cover labor or glass replacement. If your installer didn’t register the warranty layers in writing, you may be holding a piece of paper that doesn’t protect you. This is one of the reasons we register both manufacturer warranty layers before our truck leaves the driveway on every job.
When to Call a Professional
Some window issues belong on a maintenance list, and some belong on a work order. If you see water staining inside the house, condensation between panes, a sash that won’t stay open or closed, visible rot at the frame, or a door that scrapes the track with every pass, the problem has moved past maintenance. Forcing a binding door or ignoring a water stain doesn’t buy time; it buys a bigger repair. If you’re not sure which category something falls into, get eyes on it. TruePane Windows & Doors home is where you’ll find more on how we approach window and door work in Stuart. TruePane Windows & Doors offers free estimates to Stuart homeowners, no obligation and no pressure. Call (754) 324-4646 and a live person answers, day or night.
Frequently Asked Questions
Basic DIY maintenance runs $20 to $50 per year for caulk, silicone lubricant, cleaning supplies, and weatherstripping. Professional tune-ups for windows and sliders typically run $89 and up per visit, depending on the number of windows. If a seal has failed, glass replacement is the bigger expense, but catching issues during maintenance keeps the yearly cost far below the cost of deferred repairs. Call (754) 324-4646 for an exact quote on any window or door service in Stuart; estimates are free.
Twice a year is the minimum for Stuart homes, once in late April before hurricane season and once in late October after the worst of the summer weather has passed. The salt air, high humidity, and intense sun accelerate wear on caulk, weatherstripping, and metal hardware compared to inland Florida. Short of that, a quick weep-hole check after every major storm is worth the time.
A fogged double-pane window means the insulated glass unit’s internal seal has failed, and the failure cannot be repaired in the field. The glass unit must be replaced. The good news is that in most cases you can replace just the glass without installing an entire new window frame. Call (754) 324-4646 to have a technician in Stuart evaluate whether a glass-unit replacement is enough for your window.
Look for a hybrid or polyurethane sealant rated for exterior use with a movement capability of at least 25 percent and explicit UV resistance. In Stuart’s direct afternoon sun and salt air, painter’s-grade acrylic caulk hardens and separates within a couple of years. A quality coastal-rated sealant applied over clean, prepared surfaces will run seven to ten years before it needs service.
Weep holes are small drainage openings along the bottom exterior edge of a window or sliding door frame, designed to let water that gets past the outer seal drain out instead of collecting inside the frame. If water pools in the track after rain, or you see staining along the bottom interior corners of the window, the weep holes are likely blocked. The test is simple: clear them with a toothpick or soft brush, then pour a small cup of water into the exterior track and see if it drains.
It depends on the manufacturer and whether the warranty was registered correctly at installation. Some manufacturers offer transferable warranties for a limited period or with a transfer fee. Many warranties require that the installing contractor be an authorized dealer and register the warranty layers in writing. If you bought a home with newer windows, contact the manufacturer with the window serial numbers, and ask about transfer eligibility. If the original installer skipped the registration step, you may have limited coverage. A reputable installer registers both manufacturer warranty layers before the job is closed out, as we do on every TruePane installation.
The Bottom Line
Window maintenance in Stuart is not complicated, but it is specific. Clear the weep holes, check the caulk, clean the tracks, lubricate with the right products, and look at every piece of glass with fresh eyes twice a year. The window that fails early in this climate is usually the one that was ignored for three years, not the one that was made badly. Do the small work on a schedule, call a professional when the problem has moved past the surface, and the windows you have now will serve out their full life. That’s the same standard we’ve held ourselves to since 2008 in this community, and the one Dale Kessler put up on the whiteboard when he started TruePane Windows & Doors home: if the pane is not true, the job is not done.
Written by Dale Kessler, Owner at TruePane Windows & Doors, serving Stuart since 2008.
Six Reasons Homeowners Choose TruePane Windows & Doors
Impact systems engineered to design pressures up to +/-100, matched to your wind zone - your openings hold when the storm arrives.
Low-E insulated impact glass from our manufacturer lines commonly cuts monthly cooling bills 20-30%.
Laminated impact glass shuts out up to 40% of outside noise - traffic, neighbors, weather.
Monitoring services run $30-90 a month. Laminated impact glass resists forced entry around the clock, with no subscription.
Florida homeowners average around 25% savings on the windstorm portion of their policy after protecting every opening - some homes qualify for more.
A full impact package upgrades curb appeal, buyer confidence and appraised value in one project.